Luxury vinyl tile (LVT) and luxury vinyl plank (LVP) flooring have a well-earned reputation for being low-maintenance. Whether you clean these materials correctly or incorrectly, you won’t be able to tell the difference for the first year or two. Then you start to see it. The wrong products leave a film that dulls your floor and gets mistaken for wear. The wrong tools scratch the surface you’re paying to protect.
This guide covers how to clean LVT flooring day-to-day, how to handle deep cleaning and stubborn stains, what to avoid and why, and how to tell a dirty floor from one that’s genuinely worn out.
The Wear Layer: Why Every Cleaning Rule Exists
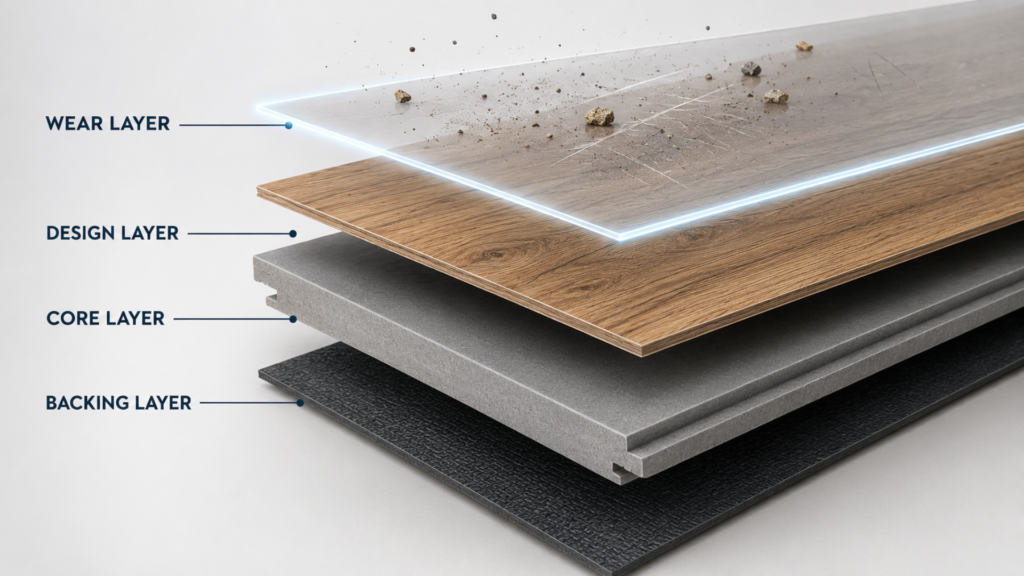
Whether your floor mimics stone or wood, LVT and LVP are built the same way, and everything in this guide applies to both, including the fact that the correct cleaning all comes down to one thing: the wear layer.
The wear layer is the clear protective coating on top of your floor. It typically runs between 12 and 20 mil (thousandths of an inch). That coating is why LVT resists scratches, scuffs, and stains as well as it does. It’s also why the cleaning method matters more than most people expect. Unlike hardwood, which can be sanded and refinished when the surface degrades, a vinyl wear layer cannot be repaired or restored. When it’s damaged, the damage is permanent.
How to Clean Vinyl Flooring: Daily and Weekly Routine
Routine cleaning is where long-term floor health is made or lost. Done right, it takes a few minutes and keeps abrasive grit from working against your wear layer with every step.
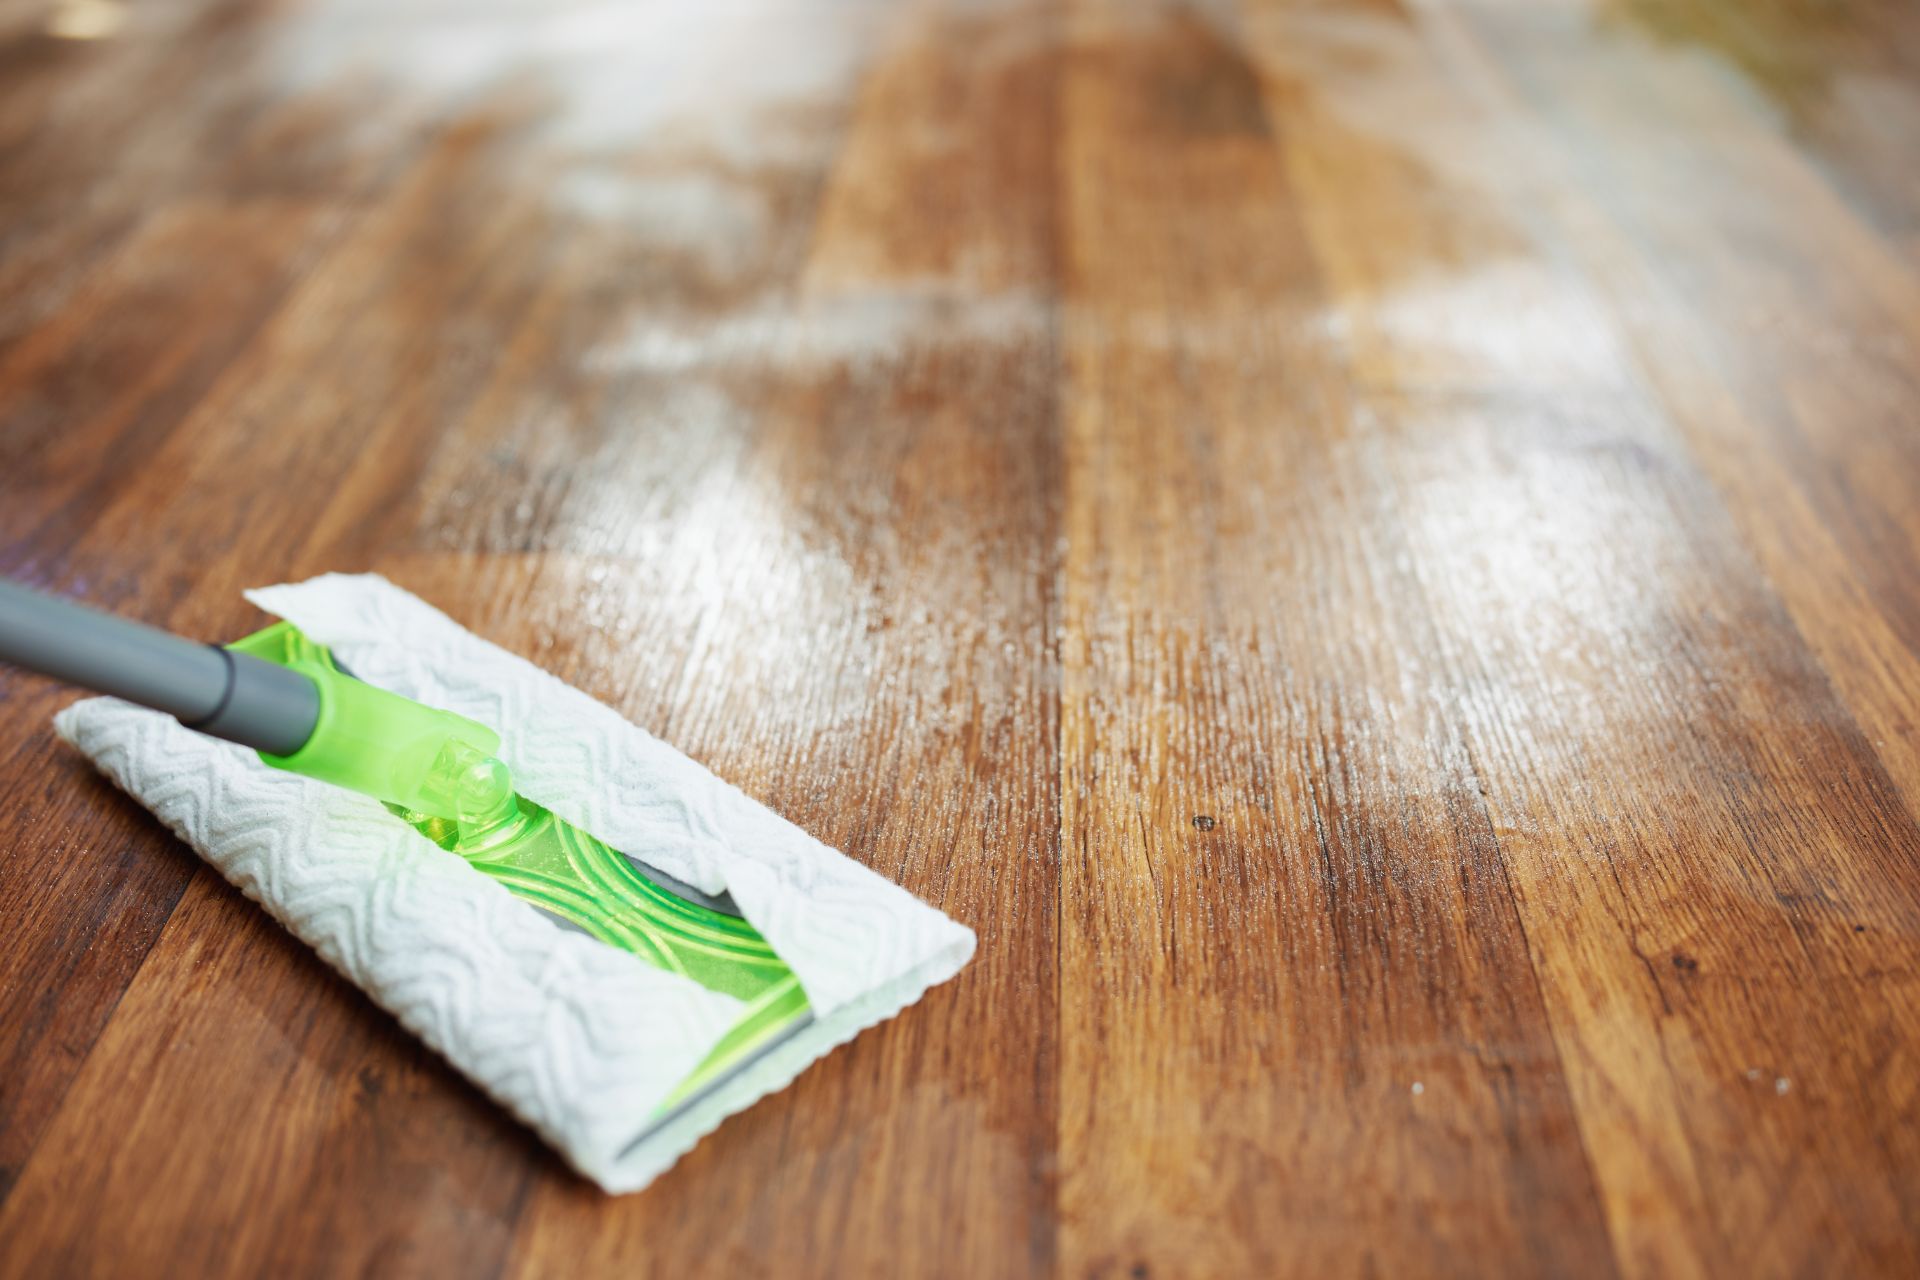
- Sweep or dry mop before any wet cleaning. A microfiber dust mop is the most effective tool because it traps particles rather than pushing them around. If you vacuum, switch to hard floor mode and make sure the beater bar is off. A rotating brush bar running against vinyl creates fine surface scratches over time that show up as a general dullness you can’t mop away.
- Wring your mop well. Vinyl is waterproof, but water pooling on click-lock seams will work its way down to the subfloor over time. Your mop should be damp, not dripping. The floor should dry within a minute or two of mopping.
- Use a pH-neutral cleaner designed for vinyl. Dish soap, multipurpose sprays, and anything with a strong alkaline or acidic formula will leave residue, dull the surface, or degrade the finish. A pH-neutral floor cleaner formulated for LVT or LVP works with the wear layer rather than against it. Follow the dilution ratio on the label.
- Change your mop water when it turns grey. A no-rinse cleaner used at the right dilution won’t leave residue. Spreading dirty water across the floor does. That grey water contains the grit and soil you just removed, and putting it back on the floor defeats the purpose.
For most households, sweeping every couple of days and damp mopping once a week is enough. Kitchens, entryways, and other high-traffic areas may need more frequent attention.
Deep Cleaning, Scuffs, and Stains
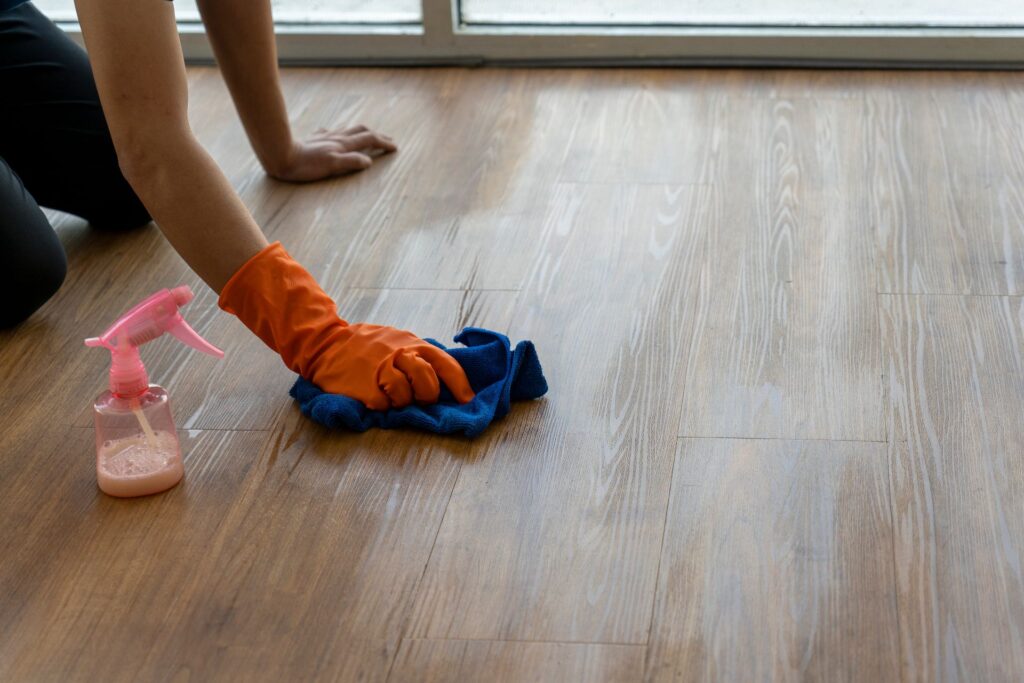
Most stains on LVT come up with nothing more than a damp cloth and your regular cleaner. For tougher situations, a few approaches are worth knowing.
- Scuff marks are usually easier to remove than they look. Rub the spot with a damp microfiber cloth using a circular motion. If the scuff doesn’t lift, mix a small amount of baking soda with water to form a paste, apply it to the mark, rub gently in a circle, wipe clean with a damp cloth, and dry the area.
- Grease, wine, and similar stains respond to a small amount of diluted dish soap worked in with a soft cloth, followed by a wipe-down with clean water. Work from the edge of the stain inward to avoid spreading it. Dry the spot when you’re done.
- Heel marks, ink, and dried adhesives can often be removed with rubbing alcohol applied to a cloth first, then to the spot. Follow with a damp cloth and dry.
- On steam mops: Manufacturers handle this inconsistently. Some explicitly allow steam mops on LVT at the lowest setting with a microfiber pad attached. Others void the warranty if steam is used at all. Before using a steam mop, check the care documentation that came with your floor, or look up the maintenance guide on the manufacturer’s website. Using steam without confirming this first is a warranty risk that isn’t worth taking.
What Not to Use on Vinyl Flooring
Knowing what to avoid matters as much as knowing what to use. Some of the most common sources of LVT damage are products marketed specifically for floors, applied by homeowners who had no reason to think they were doing anything wrong.
| Product or Practice | What It Does to Your Floor |
|---|---|
| Wax and polish products | Build up on the wear layer, create a hazy film over time, and trap dirt beneath the coating. Once the buildup accumulates, it’s difficult to remove cleanly. |
| “Mop and shine” or no-buff floor cleaners | Leave a resin coating designed for bare vinyl or older floor types. On modern LVT, that coating dulls the surface and compounds with every application. |
| Ammonia-based cleaners | Degrade the finish and weaken the wear layer, accelerating visible surface damage on a timeline that’s hard to connect back to the cleaning product. |
| Bleach (routine use) | Discolors and damages the wear layer. Some manufacturers permit highly diluted bleach for sanitizing after sewage backup, specifically, but not for regular cleaning. |
| Abrasive scrubbers and steel wool | Scratch the wear layer directly. If something requires that level of abrasion to remove, there’s a more appropriate product for the job. |
| Rubber-backed and latex rugs | Direct contact between natural rubber or latex and vinyl causes yellowing and discoloration that sets in over months. Use rugs with a vinyl-safe backing and check periodically. |
| Dragging furniture | Gouges that cut through the wear layer can’t be repaired without replacing the plank. Felt pads under furniture legs and lifting rather than sliding are the only reliable prevention. |
| Flooding the floor | The floor surface is waterproof, but the connection points between planks and the subfloor below often aren’t. Excess water sitting on seams will find its way down. |
If Your Floor Looks Dull, It Might Not Be Worn Out
A dull LVT floor is not necessarily a worn LVT floor, and confusing the two is an expensive mistake. What most people are seeing when their floors lose their luster is residue buildup: a film from cleaners that leave a coating or from soap that was never fully rinsed. The surface looks flat or slightly milky in certain light, and mopping doesn’t improve it.
The way to tell the difference is straightforward. Wet a small area with plain warm water. If the floor looks noticeably better when wet than when dry, you have a residue problem, not a wear problem. Strip it with a solution of roughly one cup of white vinegar per gallon of warm water, let it sit for a minute, then mop again with clean water and dry.
But If the floor looks the same and the surface feels rough where it used to be smooth, that’s genuine wear-layer degradation, and no cleaner changes the outcome. A flooring professional can tell you what you’re dealing with at a glance.
Get More Life Out of Your Vinyl Flooring
If you’re shopping for luxury vinyl plank or tile in the greater Seattle area, Builders Interiors carries a wide selection at our Woodinville showroom, including options from COREtec, Evoke, Mohawk, Provenza, Engineered Floors, and Flooring2. Visit our showroom locations or schedule a free consultation, and our team will help you find the right floor for your home.